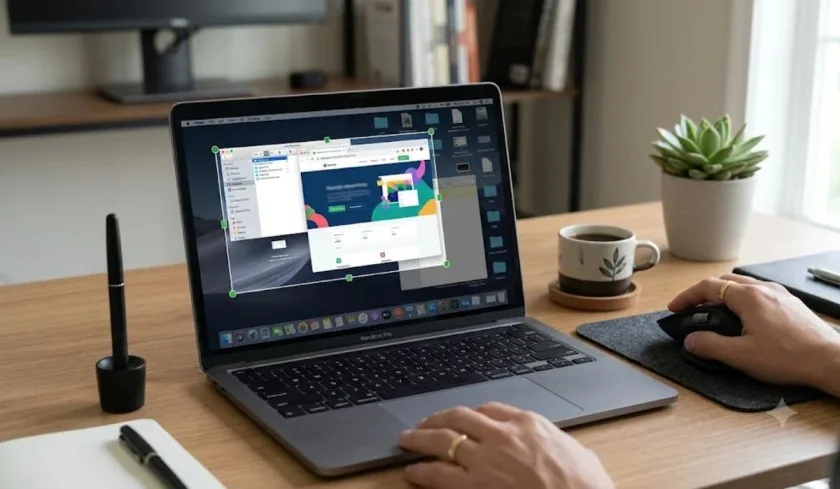
I crop screenshots almost every day for work, and I used to do it the slow way. Open the file, open an editor, drag, save, close. Then a colleague showed me the Preview trick and I felt foolish for not knowing it sooner.
The how to crop a screenshot on mac answer is simpler than most guides make it. You have two built-in tools that take seconds, and a shortcut that skips the saving step entirely.
Here is the honest breakdown, including the paste trick that saves you from hunting through your Desktop.
The Fastest Way: Crop Right After You Capture

You do not need to open a separate app. When you take a screenshot with Shift + Command + 4 and drag to select an area, a small thumbnail appears in the bottom-right corner of your screen. Click that thumbnail.
Read Also: Screenshot MacBook Air Like a Pro with These Shortcuts
The Markup editor opens. Click the Crop button in the toolbar. Drag the handles to adjust what you want to keep. Press Done. That is it .
This method works because you never leave the capture flow. The screenshot is already there. You just trim it before it saves. If you miss the thumbnail, it disappears after a few seconds and the image saves to your Desktop uncropped.
The Method That Works on Any Existing Screenshot
If you already have a screenshot saved and need to crop it, use Preview. It is the default image viewer on every Mac, and most people do not realize it has editing tools.
Double-click your screenshot. It opens in Preview. If you do not see a toolbar with editing icons, go to View > Show Markup Toolbar.
Click the Selection tool (the dotted rectangle icon). Drag a box around the part of the image you want to keep. Then go to Tools > Crop, or just press Command + K.
Save with Command + S. The cropped version overwrites the original. If you want to keep the uncropped version, duplicate the file first. Preview does not warn you before saving over the old one.
How to Paste a Screenshot on Mac (The Step Most Guides Skip)?
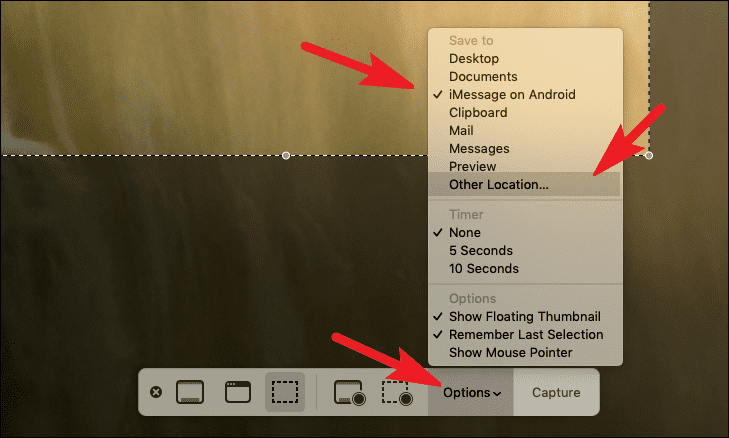
This is the part that confuses people. You take a screenshot, and then you cannot find it to paste. That is because Mac screenshots save to the Desktop by default. They do not go to your clipboard unless you tell them to.
You Must Also Like: How to Backup MacBook Pro to Network Storage?
Here is the fix. Add the Control key to any screenshot shortcut.
For a full-screen capture that goes straight to your clipboard: Control + Shift + Command + 3.
For a selected area that goes straight to your clipboard: Control + Shift + Command + 4. Drag to select your area. Release. The screenshot is now on your clipboard, not your Desktop.
Now open the app where you want to paste it. Press Command + V. The image appears.
I use this constantly for email and Slack. It saves the step of finding the file and dragging it. The image never touches my Desktop. It goes from screen to clipboard to destination.
One caveat: the clipboard holds one item at a time. If you copy text after taking the screenshot, the image is gone. Paste it before you copy anything else.
The Third Option: Photos App (If You Already Use It)
The Photos app can also crop screenshots. Import the image, open it, click Edit, then Crop. It works. But it is slower than Preview for a single screenshot.
Photos is built for managing a library, not quick edits. Use it if your screenshot is already in your Photos library. Otherwise, Preview is faster.
The Final Thoughts
Learn two shortcuts. Shift + Command + 4 for a normal cropped capture. Control + Shift + Command + 4 for a cropped capture you want to paste somewhere.
When the thumbnail appears after a normal capture, click it. Crop. Done. If you miss the thumbnail, open the file in Preview and press Command + K.
The how to crop a screenshot on a mac question has an answer that takes less than ten seconds. The problem is not the tool. It is knowing which tool to reach for. Preview for files you already have.
The thumbnail editor for files you just captured. The Control key for files you want to paste without saving. That is the whole system. It has not changed in years because it does not need to. Apple got this one right.