I spent an entire weekend trying to get OpenClaw running on my 2019 Intel MacBook Pro. The official install script failed three times. Homebrew threw shallow clone errors. Node.js refused to install properly.
After digging through forums and testing different approaches, I finally got it working. The fix was not obvious. But it worked.
Here is exactly what I learned. No fluff. Just steps that actually work.
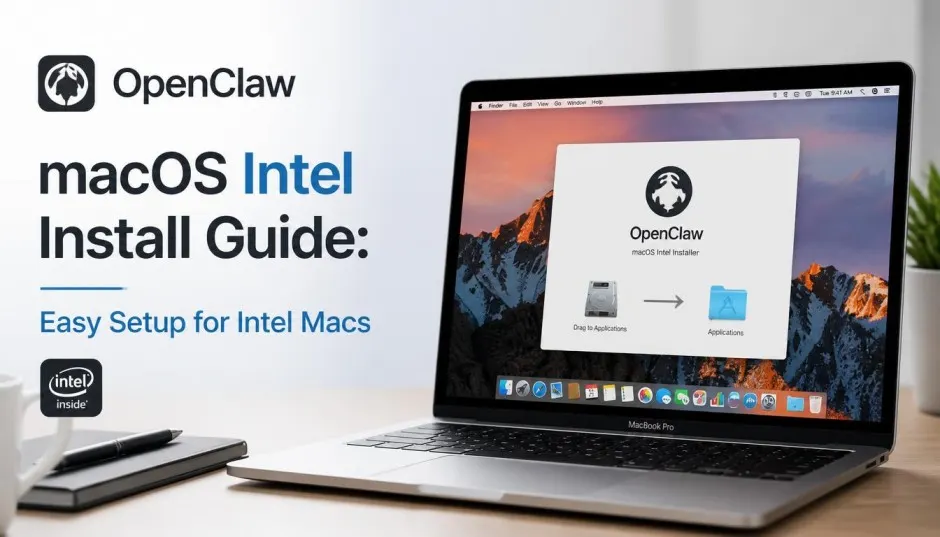
What Is OpenClaw and Why Use It?
OpenClaw is an open-source AI assistant that runs locally on your Mac. Think of it as a personal agent you control. It connects to WhatsApp, Telegram, Slack, and iMessage. It uses your own API keys from OpenAI, Google Gemini, or local models via Ollama.
Read Also: M5 Neural Engine Performance Specs: The Secret Behind Apple’s On-Device AI Revolution
The project started as Clawdbot, briefly became Moltbot, and is now officially OpenClaw . The CLI command is openclaw now.
The big selling point? Privacy. Everything runs on your machine. Your data stays local. No cloud provider snooping on your conversations.
Before You Start: Check Your Mac
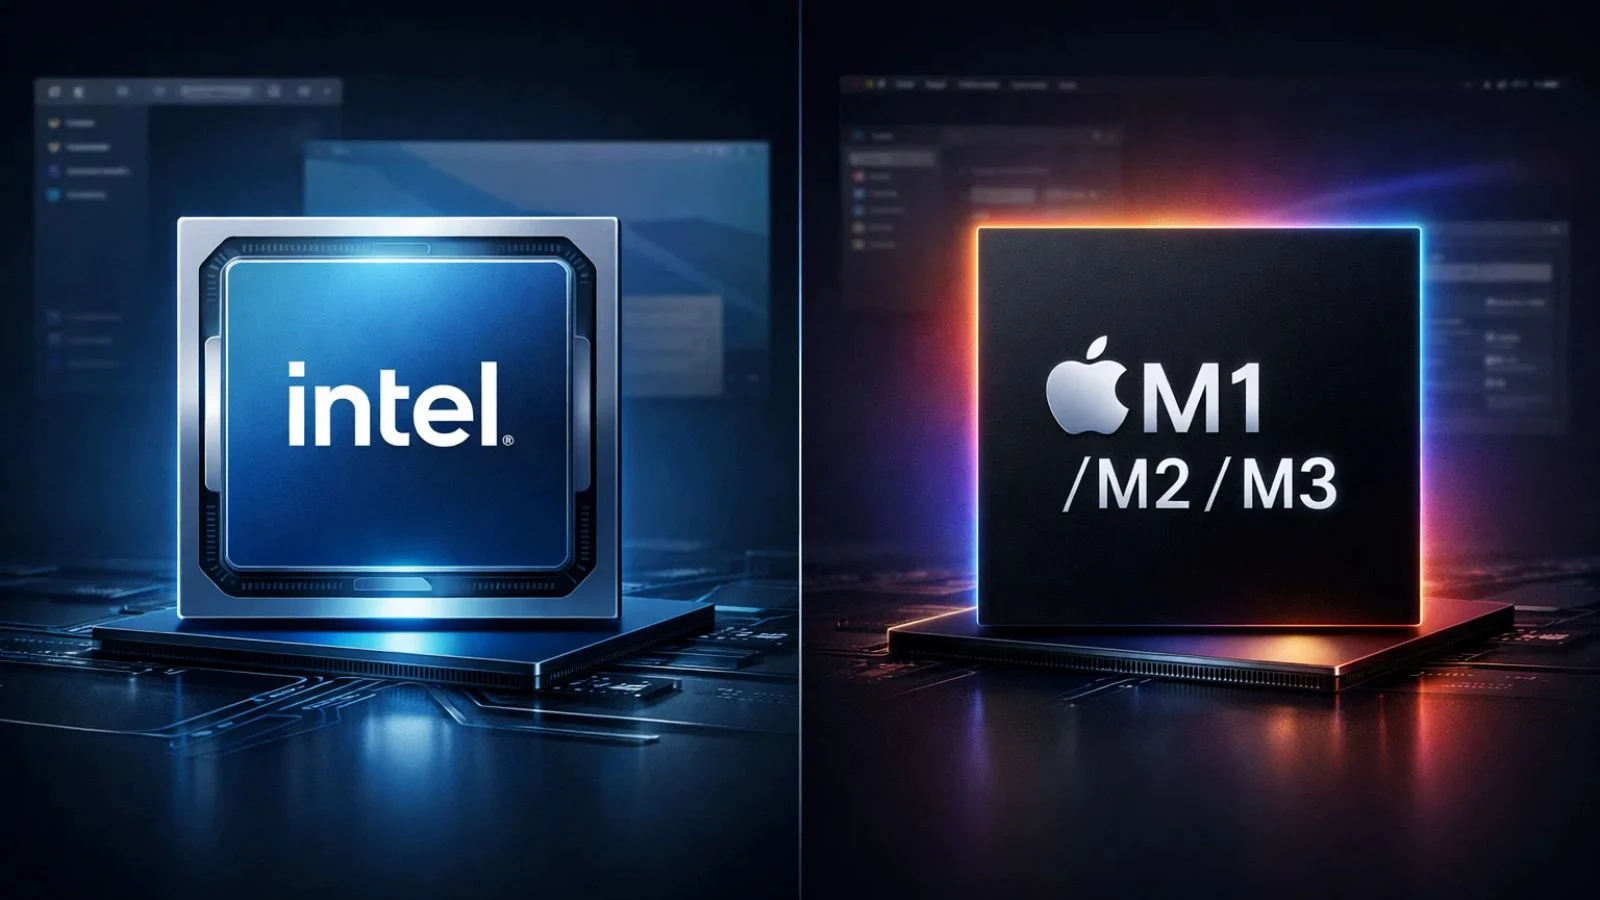
OpenClaw supports both Intel and Apple Silicon Macs . But the installation process differs slightly.
Minimum requirements:
-
macOS 12 Monterey or newer
-
Node.js 22 or higher
-
8GB RAM minimum, 16GB recommended
-
5GB free disk space
How to check your Mac:
Open Terminal. Type uname -m. If you see x86_64, you have an Intel Mac. If you see arm64, you have Apple Silicon.
Important context: macOS 26 Tahoe is the final version supporting Intel Macs. Starting with macOS 27 (Golden Gate), Intel Macs cannot upgrade. Your Intel Mac still runs OpenClaw fine. But you are stuck on Tahoe for good.
The Intel Mac Problem: Why Installation Fails?
Intel Macs face unique installation hurdles that M-series owners rarely encounter.
Homebrew shallow clone errors. The homebrew-core repository fails to update properly. The fix? Rebuild the repository manually.
Node.js version detection fails. macOS Sequoia throws version detection errors. The official brew install node@22 often does not work.
You Must Also Like: How to Remove Installed Apps from Mac Easily And Safely?
Sharp library dependency fails. OpenClaw relies on an image processing library called sharp. It downloads pre-built binaries during installation. In China, this fails due to network issues. But even outside China, Intel Macs sometimes fail here too.
System version detection. The official install script sometimes rejects newer macOS versions. It claims Sequoia is unsupported. That is incorrect.
Method 1: Official Install Script (Try This First)
The official script is the easiest path.
Open Terminal. Run:
text
curl -fsSL https://openclaw.ai/install.sh | bash
If it works, you are done. Verify with:
text
openclaw --version
What if it fails? The script failed on my Intel Mac. If yours fails too, use Method 2 below.
2: Manual Installation for Intel Macs (My Proven Fix)
This is the approach that finally worked for me. Follow every step in order.
Step 1: Fix Homebrew
Homebrew is the macOS package manager. OpenClaw depends on it.
First, remove the broken homebrew-core:
text
sudo rm -rf /usr/local/Homebrew/Library/Taps/homebrew/homebrew-core
Recreate the directory:
text
sudo mkdir -p /usr/local/Homebrew/Library/Taps/homebrew/homebrew-core
sudo chown -R $(whoami) /usr/local/Homebrew/Library/Taps/homebrew
Initialize the repository:
text
cd /usr/local/Homebrew/Library/Taps/homebrew/homebrew-core
git init
git remote add origin https://mirrors.ustc.edu.cn/homebrew-core.git
git fetch --depth=1 origin main
git checkout -b main origin/main
Unshallow the clone:
text
git -C /usr/local/Homebrew/Library/Taps/homebrew/homebrew-core fetch --unshallow
Update Homebrew:
text
brew update
If you are outside China and the mirror is slow, replace the URL with: https://github.com/Homebrew/homebrew-core.git
Step 2: Install Node.js 22 Manually
This is the critical step for Intel Macs. The official brew install node@22 failed for me. Manual installation worked.
Download Node.js 22.16.0 (Intel version):
text
curl -fsSL https://nodejs.org/dist/v22.16.0/node-v22.16.0-darwin-x64.tar.gz -o /tmp/node22.tar.gz
Extract to Homebrew's directory:
text
sudo mkdir -p /usr/local/Cellar/node@22/22.16.0
sudo tar -xzf /tmp/node22.tar.gz -C /usr/local/Cellar/node@22/22.16.0 --strip-components=1
Create global symlinks:
text
sudo ln -sf /usr/local/Cellar/node@22/22.16.0/bin/node /usr/local/bin/node
sudo ln -sf /usr/local/Cellar/node@22/22.16.0/bin/npm /usr/local/bin/npm
sudo ln -sf /usr/local/Cellar/node@22/22.16.0/bin/npx /usr/local/bin/npx
Fix permissions:
text
sudo chown -R $(whoami) /usr/local/Cellar/node@22
sudo chown -R $(whoami) /usr/local/bin/node /usr/local/bin/npm /usr/local/bin/npx
Verify installation:
text
node -v
You should see v22.16.0 .
Step 3: Configure Sharp Library Mirror
OpenClaw depends on the sharp image processing library. This step is essential.
Set the mirror:
text
export SHARP_DIST_BASE_URL="https://npmmirror.com/mirrors/sharp-libvips/"
export SHARP_IGNORE_GLOBAL_LIBVIPS=1
If you are not in China, you can skip this mirror. But I recommend setting it anyway. It makes the download more reliable.
Step 4: Install OpenClaw via npm
Now install OpenClaw globally:
text
npm install -g openclaw@latest
Permission issues? If you get EACCES errors, add sudo:
text
sudo npm install -g openclaw@latest
Step 5: Run the Onboarding Wizard
This is where you configure OpenClaw.
text
openclaw onboard
The wizard asks you:
-
Which AI model to use (OpenAI, Google Gemini, Claude, etc.)
-
Your API key for that provider
-
Which messaging platforms to connect (WhatsApp, Telegram, Slack, Discord, iMessage)
-
Whether to install as a background daemon
Yes, install the daemon. This keeps OpenClaw running after you close Terminal . The daemon uses launchd, macOS's built-in service manager.
Step 6: Start the Gateway
text
openclaw gateway start
Open your browser. Go to http://127.0.0.1:18789 .
You should see the OpenClaw dashboard. If you see nothing, the gateway did not start. Try:
text
openclaw gateway restart
Optional: Connect to Local Models with Ollama
If you want to run models locally (no API costs), install Ollama:
text
brew install ollama
Pull a small model:
text
ollama pull llama3.2
Then configure OpenClaw to use Ollama during the openclaw onboard step. Select "Ollama" as your provider.
Intel Mac warning: Local models run on CPU only. Intel Macs lack the Neural Engine found on M-series chips . Expect slower responses. Fan noise increases. Battery drains faster.
For Intel Macs, I recommend using cloud APIs. DeepSeek is cheap. GPT-4o-mini is affordable. The response time is milliseconds. Your Intel Mac stays cool and quiet .
Troubleshooting Intel Mac Issues
"Homebrew-core is a shallow clone"
I covered this in Step 1. Rebuild the repository manually. Do not skip this.
"Node.js version 22 not found"
The manual installation in Step 2 is the fix. Do not rely on brew install node@22. It fails on Intel Macs with Sequoia.
Sharp library download fails
Set the mirror in Step 3. This resolves most download issues.
Permission errors (EACCES)
Use sudo with npm install -g openclaw@latest. Or run:
text
sudo chown -R $(whoami) /usr/local/lib/node_modules
Gateway won't start
Check port 18789:
text
lsof -nP -iTCP:18789 -sTCP:LISTEN
If something else uses that port, stop it or change OpenClaw's port.
OpenClaw not found after install
Reload your shell:
text
source ~/.zshrc
If using bash:
text
source ~/.bash_profile
Should Intel Mac Owners Even Bother?
Yes. OpenClaw runs perfectly on Intel Macs. My 2019 MacBook Pro handles it without issues.
But there is a catch. Local AI models run much slower on Intel. You lack the Neural Engine that M-series chips have . Apple Silicon Macs have 0.9% first-year hardware failure rates versus 2.2% for Intel . The reliability gap is real.
The strategy for Intel users: Use cloud APIs. Do not run local models. Your Intel Mac becomes a lightweight terminal connecting to powerful cloud AI. Response times are instant. CPU stays cool .
If you insist on local models, expect slower speeds and louder fans. That is the hardware limitation.
Security Warning
OpenClaw runs on your local machine. It has access to your files, apps, and messaging platforms .
Never install untrusted skills. Only use verified plugins.
Protect your API keys. They are stored locally. Anyone with access to your Mac can retrieve them.
Do not expose port 18789 publicly. That is the web dashboard. Keep it local.
Run OpenClaw under a dedicated macOS user. This limits damage if something goes wrong .
Uninstalling OpenClaw
If you want to remove everything:
text
openclaw uninstall
Then remove the global npm package:
text
npm uninstall -g openclaw
Delete leftover config files in ~/.openclaw or ~/Library/Application Support/openclaw.
Final Thoughts
OpenClaw is genuinely useful. My Intel Mac now runs an always-on AI assistant. It answers messages. It schedules calendar events. It manages files.
The installation took two hours of trial and error. But once running, the setup is rock solid.
Intel Mac owners: Use cloud APIs. Avoid local models. Your hardware limitations are real. Work with them, not against them.