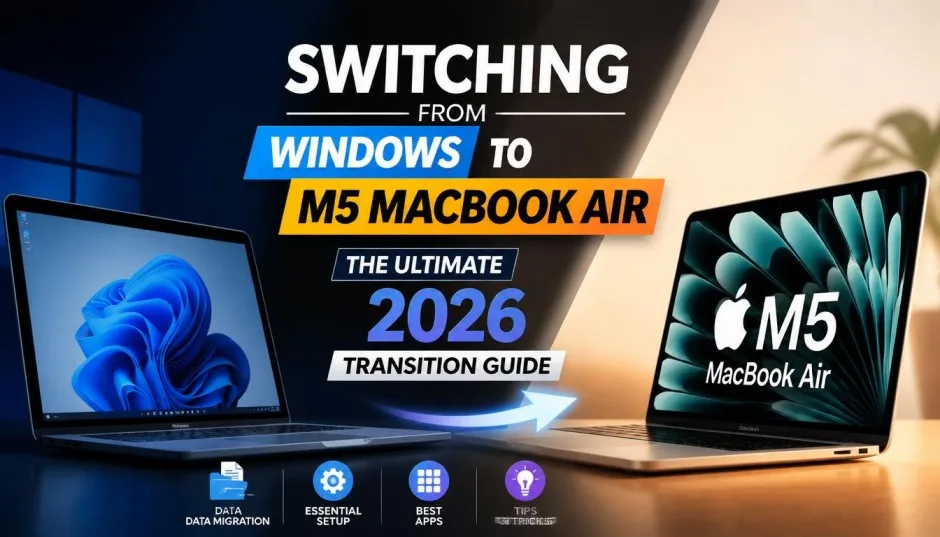
Switching from Windows to M5 MacBook Air tips are exactly what I needed six months ago. I bought my first Mac after a decade on Windows. The box sat on my desk for two hours before I opened it. I was nervous.
What if I hated it? What if nothing worked the way I expected? Both things happened. For about three days, I hated it. Then something clicked. Now I cannot imagine going back.
Here is everything I wish someone told me before I made the switch. No marketing fluff. Just honest advice from someone who lived through the frustration.
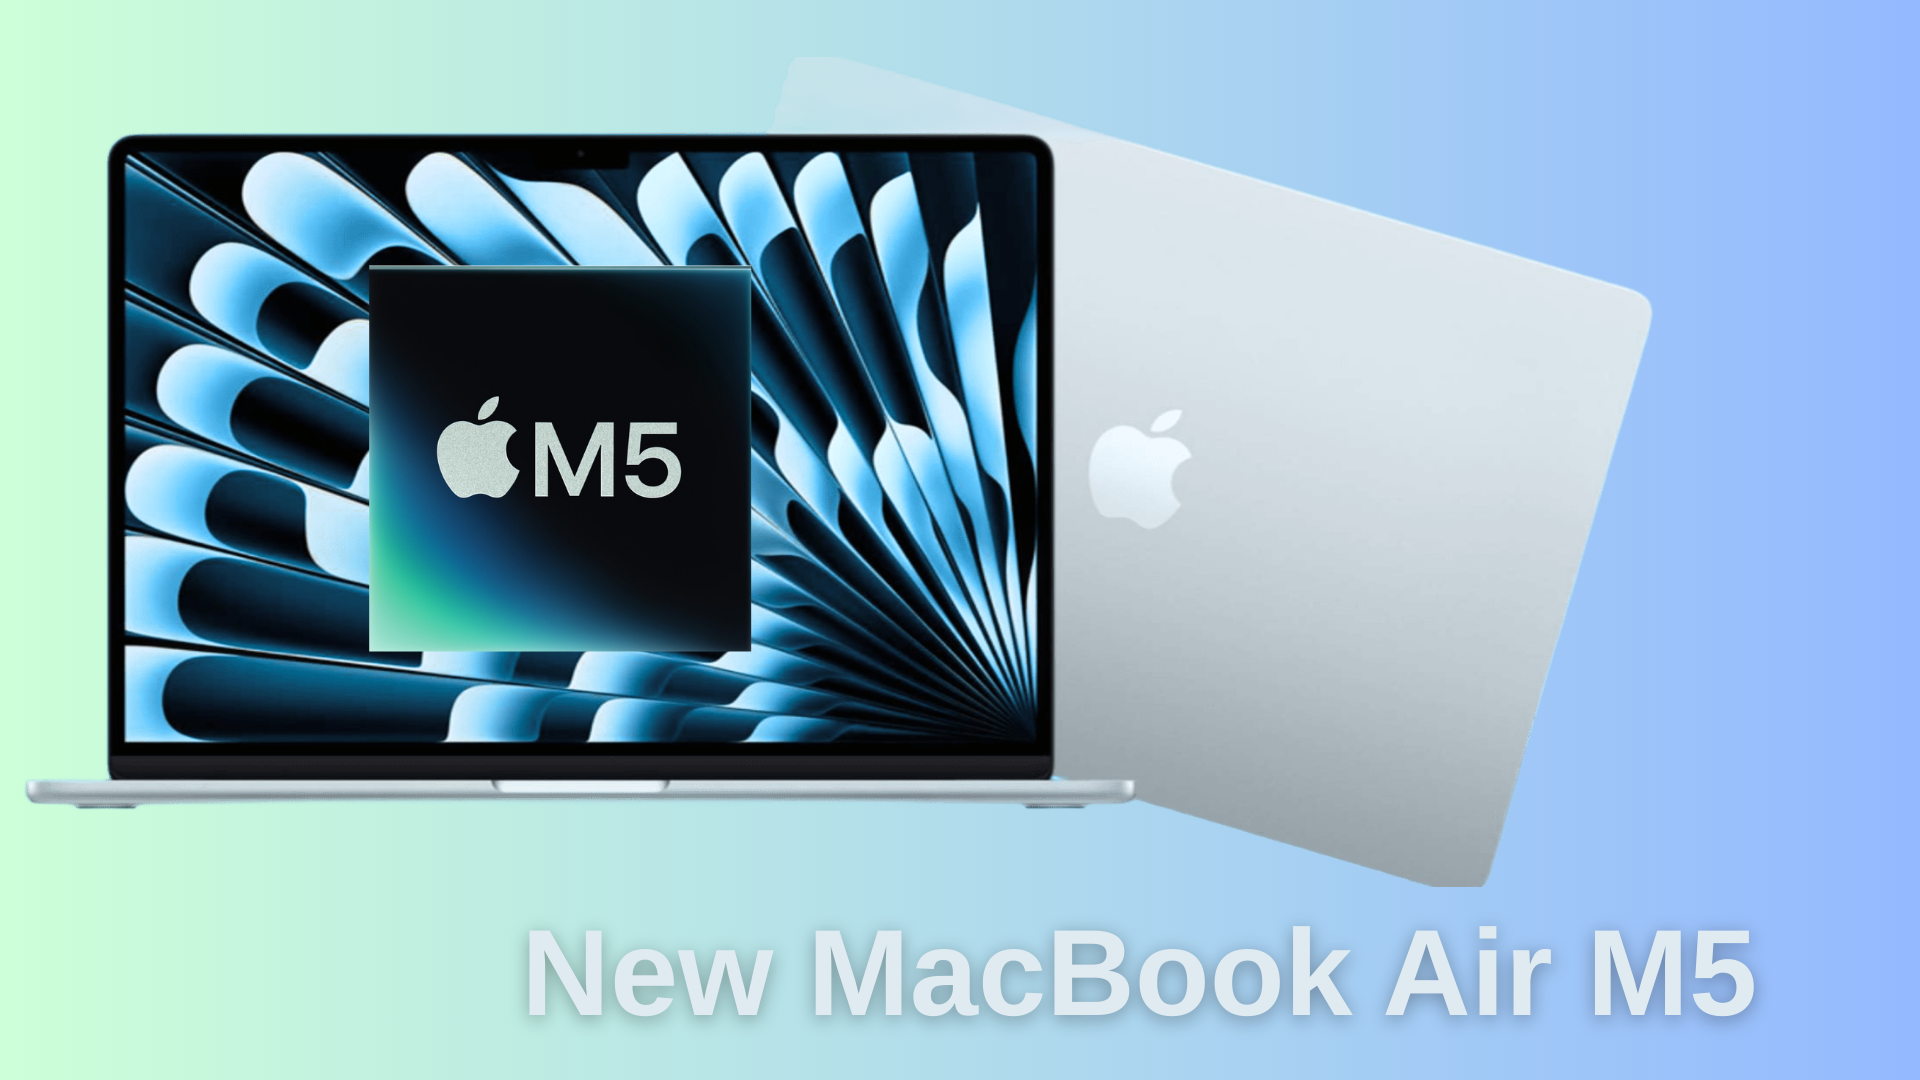
First Things First: The M5 MacBook Air Is Different
The 2026 MacBook Air starts at $1,099 with 16GB RAM and 512GB storage. That is $100 more than last year's model. But you get double the storage for that price. The M5 chip has 10 CPU cores and either 8 or 10 GPU cores depending on which model you buy.
Read Also: Is Apple Skipping the M4 Pro for a Binned M5 Chip?
Here is what the spec sheet does not tell you. This laptop weighs 1.24 kg. My old Windows gaming laptop weighed 2.1 kg plus a 0.6 kg charger. Total difference? About 1.3 kg. That does not sound like much until you carry it across a university campus or through an airport. Then it feels like magic.
The battery lasts all day. I mean that literally. I code, browse, watch videos, and run terminal sessions. The MacBook Air lasts from 9am to 10pm on a single charge. No more hunting for power outlets at coffee shops.
The First Three Days Will Frustrate You
I need to be honest about this.
Switching from Windows to M5 MacBook Air feels wrong at first. Everything is backwards. The close button is on the left, not the right. The keyboard has a Command key where your muscle memory expects Alt. The Finder looks like File Explorer but works differently.
Here are the specific frustrations I experienced:
Copy and paste: Ctrl+C becomes Command+C. Your thumb does this, not your pinky. It took me two days to stop reaching for the wrong key.
Window management: Closing a window does not quit the app. The app stays open with no windows visible. Look at the Dock. If there is a dot under the icon, the app is still running. Press Command+Q to actually quit.
The green button: In Windows, the maximize button fills the screen. On Mac, the green button enters full-screen mode. The window gets its own desktop space. Swipe left or right with four fingers to move between full-screen apps.
File management: Where are your files? The Finder is your answer. But the default view hides your Library folder. Press Command+Shift+. (dot) to show hidden files.
A developer who switched recently described it perfectly: "别扭,非常的别扭" – awkward, extremely awkward . That sums up days one through three.
First Things to Do on New MacBook: My Setup Routine
First things to do on new MacBook determine how much you enjoy the next three years. Here is my exact setup order.
1. Set Up Touch ID Immediately
Go to System Settings > Touch ID. Add your fingerprint. Add a second finger from your other hand.
You Must Also Like: Google Introduces Full AI Mode in Chrome Address Bar for Smarter Prompts
Touch ID saves you time every single day. Logging in. Approving App Store downloads. Unlocking system settings. Apple stores this data locally in the Secure Enclave. Not on their servers. That means convenience without sacrificing security.
2. Fix the Trackpad Settings
System Settings > Trackpad is where you fix the defaults.
Natural scrolling mimics a touchscreen. Swipe up to move down. If your brain rejects this (mine did), turn it off. No prize for suffering through bad ergonomics.
Adjust tracking speed to medium-fast. The default feels sluggish to Windows users.
Enable Tap to click. Then you can tap anywhere on the trackpad instead of pressing down physically.
The three-finger drag is hidden. Go to Accessibility > Pointer Control > Trackpad Options. Enable dragging with three fingers. This lets you move windows without pressing down.
3. Customize Hot Corners
Hot Corners are macOS's secret weapon.
System Settings > Desktop & Dock > scroll to Hot Corners.
Set bottom-left to Desktop. This shows your desktop when you need a file. Set bottom-right to Quick Note. Great for jotting down ideas.
Do NOT set top corners to Lock Screen or Sleep. You will trigger them by accident constantly.
4. Clean Your Dock
The default Dock assumes you love every Apple app equally. You do not.
Remove GarageBand. Remove Pages unless you use it. Remove Keynote. Remove everything you never open.
Then enable Dock hiding. Right-click the Dock divider line > Turn Hiding On. The Dock disappears when you do not need it. Hover your mouse at the bottom of the screen to bring it back.
A clean Dock means fewer distractions and faster launches.
5. Install Your Essential Apps
The App Store has many apps. But many developers sell directly from their websites. I installed:
-
Rectangle (free) – Windows-style window snapping. Drag a window to the left edge, it fills half the screen. Essential for former Windows users.
-
Alfred (free version) – Spotlight on steroids. Launch apps, search files, run workflows.
-
Itsycal (free) – Puts your calendar on the menu bar.
-
AppCleaner (free) – Removes apps completely, including their hidden support files.
Things to Know About MacBook Air Before You Buy
Things to know about MacBook Air might change your decision. Here is the honest list.
The good:
The build quality is exceptional. The aluminum chassis feels premium. No plastic flex. No creaky hinges.
The trackpad is the industry standard. You will hate every other laptop trackpad after using this one.
The M5 chip runs silently. No fans. No noise. Ever.
Wi-Fi 7 and Bluetooth 6.0 come standard.
The not-so-good:
The display runs at 60Hz. Windows laptops at this price often have 120Hz screens. You notice the difference when scrolling.
Only two USB-C ports. Both on the left side. Plus a headphone jack on the right. That is it. You will need dongles for external monitors, USB-A devices, and Ethernet.
The webcam is 12 megapixels but still not as good as an iPhone. No Face ID. Touch ID only.
No upgrade options. Everything is soldered. Buy the RAM and storage you need upfront because you cannot change them later.
The dealbreaker for some:
If you play PC games, do not buy a Mac. Seriously. Many games do not have macOS versions. Those that do run worse than on Windows.
If your work requires specialized Windows software (engineering CAD, certain ERP systems, proprietary hardware drivers), check compatibility first. Some tools have no Mac version.
How to Set Up New MacBook Air from Old PC?
How to set up new MacBook air from old Windows PC is easier than you think. During initial setup, Setup Assistant asks if you want to transfer data from another computer.
Choose "From a Windows PC."
You need three things:
-
Both computers on the same Wi-Fi network
-
Bluetooth enabled on your Windows PC
-
Migration Assistant installed on your Windows PC (download from Apple's website)
Migration Assistant transfers your contacts, calendars, email accounts, documents, photos, and music. It does not transfer applications. Windows apps do not work on Mac. You need Mac versions.
The transfer happens wirelessly. It takes time. Start it before bed and let it run overnight.
If you do not want to transfer everything, you can also set up as new and copy files manually via an external drive or cloud storage.
MacBook Air 13 M5 Review: Real-World Performance
MacBook Air 13 M5 review scores are high for good reason. Notebookcheck gave it 92%. PCMag gave it an Editor's Choice award. Here is my real-world experience after six months.
Speed: The M5 chip handles everything I throw at it. Multiple Chrome tabs. VS Code. Discord. Spotify. Figma. No stuttering. No beach balls.
Battery: I charge every other day. Sometimes every three days. The battery lasts 16+ hours for routine tasks.
Build: The Sky Blue color looks silver in most light and blue only at certain angles. The laptop feels solid. No flex in the keyboard deck.
Keyboard: Shallow travel but good feedback. Heavy typists will feel the keys bottom out.
Speakers: Surprisingly good for such a thin laptop. Quad speakers get loud enough for a small room.
Portability: This is the reason to buy an Air. I take it everywhere. Coffee shops. Libraries. Parks. Flights. It never feels heavy.
The one thing I miss from Windows? Window snapping. But Rectangle solved that.
MacBook Air Setup Tips: Hidden Gems
MacBook Air setup tips from someone who learned the hard way.
Change your charging limit. Go to System Settings > Battery. Set charge limit to 80% if you mostly use your laptop plugged in. This extends battery lifespan.
Learn the screenshot shortcuts. Command+Shift+3 captures full screen. Command+Shift+4 captures a selection. Command+Shift+5 opens the screenshot toolbar.
Spotlight is your friend. Command+Space opens search. Type the first few letters of any app or file. Press enter. Faster than clicking.
Three-finger drag changes everything. Enable it in Accessibility settings. Then you can drag windows by clicking anywhere and dragging with three fingers. No need to aim for the tiny title bar.
Hot Corners for sleep. Set one corner to Lock Screen. Then you can walk away from your laptop and flick your mouse to that corner as you leave. Instant lock.
Who Should NOT Buy a MacBook Air?
I love my MacBook Air. But it is not for everyone.
Do not buy if you are a gamer. The Mac gaming library is small. Your favorite Windows games probably do not work.
Do not buy if you need specific Windows software. Engineering tools. Certain medical software. Legacy business apps. Check compatibility before buying.
Do not buy if you need more than two ports. You can buy a dongle. But dongles are annoying to carry and easy to lose.
Do not buy if you want to upgrade later. What you buy is what you keep. No RAM upgrades. No storage upgrades.
Do not buy if 60Hz bothers you. Once you see 120Hz scrolling, 60Hz feels choppy. Some Windows laptops at this price have high refresh screens. The Air does not.
Final Thoughts
Switching from Windows to M5 MacBook Air changed how I work. Not because Macs are magical. Because the hardware gets out of my way. No fan noise. No hunting for outlets. No lag when I have twenty tabs open.
The first three days hurt. I kept reaching for Ctrl+C. I kept closing apps wrong. I kept asking "where are my files?" By day four, my fingers learned the new positions. By week two, I stopped thinking about it. By month two, I tried using a Windows laptop and felt lost.
The M5 MacBook Air is not perfect. The display could be better. The port selection is limited. Gaming is not an option. But for getting work done anywhere, anytime, with zero fuss? Nothing else comes close.
Take the leap. Give it a week. You will never look back.