I have used Apple Frames for years. Framing screenshots for articles. Social media posts. Client work. The shortcut saved me hours. But one thing always annoyed me.
Every time I framed an image, the shortcut forced me to save it somewhere. Files app. Photos. Clipboard. Somewhere. I could not just pass the framed image to another shortcut. That changes now.
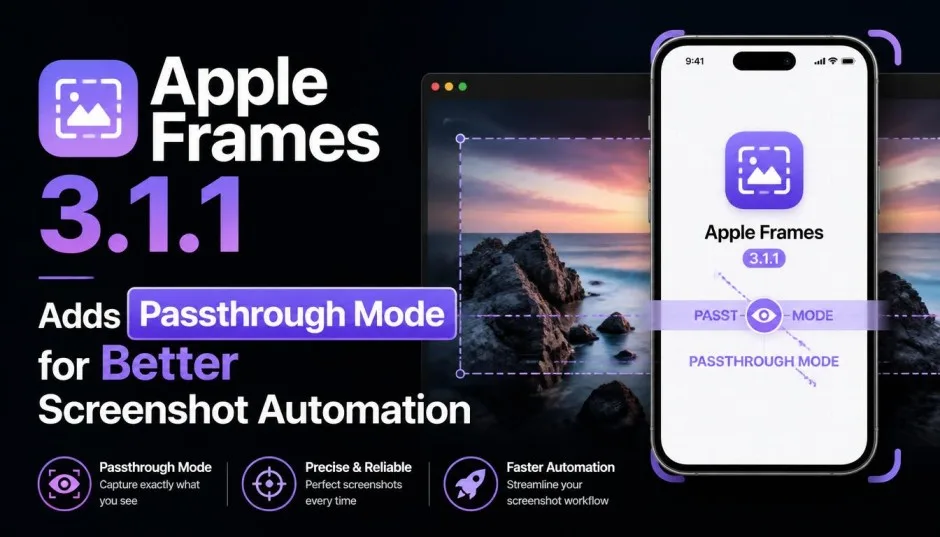
Apple Frames 3.1.1 Adds Passthrough Mode – a tiny update with massive implications for anyone who automates screenshot workflows.
Let me show you what changed and why it matters.
What Is Apple Frames Anyway?
If you have never used Apple Frames, here is the short version. It is a free shortcut for iPhone, iPad, and Mac. You give it a screenshot. It puts that screenshot inside a realistic device frame.
Read Also: MacBook Pro Keyboard Replacement Cost 2026 Guide
iPhone screenshots get iPhone frames. iPad screenshots get iPad frames. Mac screenshots get MacBook frames. The shortcut supports over 20 Apple devices, including iPhone 14 Pro Max, iPad Pro 12.9”, Apple Watch Ultra, and the 24” iMac.
Before version 3.1, you selected screenshots manually. The shortcut framed them. Then asked where to save the result. Fine for one or two images. Painful for fifty.
Version 3.1 introduced an API. Text commands that automate the whole process. You could tell Apple Frames: "Get the 5 most recent screenshots. Frame them individually. Save them to a specific folder." Zero manual steps.
But there was a catch.
The Problem That Passthrough Mode Solves
The original API had eight output commands. You could preview framed images. Save to Photos. Save to Files. Copy to clipboard. AirDrop. Upload somewhere.
All those commands have one thing in common. They store the framed image somewhere before you can use it.
Here is the problem. Imagine building a multi-step automation. Step one: frame a screenshot. Step two: resize that framed image. Step three: upload it to a server.
Before passthrough mode, your framed image would go to Files or the clipboard at step one. Then you would need another action to pull it back out. Messy. Inefficient. Broke the flow.
I ran into this constantly. I have a shortcut that frames screenshots, then sends them to a resizing tool, then adds a watermark. Without passthrough, I had to save the framed image to Files, then read it back, then delete the temporary file. Worked but felt wrong.
How Passthrough Mode Works?
The new output command is &passthrough. Simple. No extra setup.
Here is what happens. When you run Apple Frames with this command, the shortcut does not save your framed image anywhere. It does not ask where to put it. It simply passes the framed image along as a native output variable.
You then use that variable in the next action of your shortcut. Like a normal image variable. No detours. No temporary files.
The technical explanation from the developer: when you run Apple Frames from another shortcut using the 'Run Shortcut' action, that action produces an output variable called 'Shortcut Result'. Passthrough mode makes sure that variable contains your framed image as a native image type.
Before passthrough, that 'Shortcut Result' variable was often empty or contained a file path. Now it contains your framed image. Ready for the next action.
Real Example: My Morning Automation
I wake up. My phone takes a screenshot of my morning battery level. That screenshot needs framing for my health tracking journal. Here is my shortcut now:
-
Get latest screenshot from Photos
-
Run Apple Frames with
&passthroughcommand -
Resize the framed image to 800px wide
-
Append date and battery percentage as text overlay
-
Save to my journal folder
Three steps used to require temporary file storage. Now everything flows in memory. Faster. Cleaner. No leftover files to delete.
Who Should Use Passthrough Mode?
Power users building complex shortcuts. If your workflow has more than three steps, passthrough will simplify it. Especially useful when chaining Apple Frames with other shortcuts like resizing, compression, or upload tools.
You Must Also Like: How to Connect Your PS4 Controller to Steam on Mac?
Designers and developers framing hundreds of images weekly. The original article about Apple Frames 3.1 highlighted this group. People who rely on this shortcut for work need every second saved . Passthrough eliminates the file management overhead.
Anyone tired of cleaning up temporary files. Every saved intermediate image is a file you must delete later. Passthrough means no intermediate files at all.
Casual users can ignore it. If you run Apple Frames manually from the Shortcuts app and just want framed images in your Photos library, keep using the regular &photos command. Passthrough adds nothing for you.
How to Download and Install?
Apple Frames shortcut download is free. Always has been.
Go to the MacStories Shortcuts Archive. Search for Apple Frames. Download version 3.1.1 or newer.
Before first use, you must configure two folders in the shortcut. Input folder: where Apple Frames looks for screenshots. Output folder: where it saves framed images if you use &quickSave.
The passthrough command ignores the output folder entirely. But the shortcut still needs both folders defined to run.
Supported Devices in Version 3.1.1
Here is the full list of device frames included:
iPhones:
-
iPhone 11, 8/SE
-
iPhone 12, 13, 14 (Mini, standard, Plus, Pro Max sizes)
iPads:
-
iPad Pro 11" and 12.9" (2018-2022 models)
-
iPad Air 10.9" (2020-2022 models)
-
iPad mini (2021 model)
Apple Watch:
-
Series 4 through 8, and Ultra
Macs:
-
iMac 24" (2021 model)
-
MacBook Air (2020-2022 models)
-
MacBook Pro (2021 models)
The shortcut supports portrait and landscape orientations. It does not support Display Zoom on iPhones. On iPadOS and macOS, it supports Default and More Space resolutions.
If you have multiple screenshots selected, Apple Frames can merge them into a single composite image or frame them individually. The Merge Images toggle at the beginning of the shortcut controls this.
Other Output Commands Worth Knowing
Passthrough is new. But the other output commands remain useful for different scenarios.
QuickLook – Previews framed images without saving. Good for quick checks before deciding where to put the final file.
Photos – Saves directly to your Photos library. My most used command before passthrough.
QuickSave – Saves to a specific folder you configure in the shortcut. Perfect for organizing framed screenshots by project.
Copies to clipboard. Great when you need to paste into an email or document immediately.
AirDrop – Instantly AirDrops to nearby Apple devices. No save step. No share sheet.
Upload – Triggers another shortcut you build for uploading. Use this with passthrough for a completely automated upload pipeline.
What About iPhone 16, 17, and Newer Models?
You might have searched for Apple Frames shortcut iPhone 17 or Apple Frames shortcut iPhone 16.
The shortcut has not been updated for the latest iPhone models yet. The developer, Federico Viticci, typically adds new device frames within months of release. But as of now, iPhone 15 and newer use the iPhone 14 frame template.
The frames still look good. The difference is minimal. But if you need exact device matching, check the MacStories Shortcuts Archive for future updates.
Apple frames shortcut iPhone 12 users are fine. The shortcut includes full support for iPhone 12 series.
My Honest Take After Using Passthrough
I rebuilt three of my automations to use passthrough. The difference is real but small. We are talking seconds saved per run. Not minutes.
But those seconds add up. I frame about 200 screenshots monthly for client work. Passthrough saves me roughly 15 minutes per month. Not life-changing. But welcome.
The real benefit is cleaner automation. My shortcuts no longer have "delete temporary file" steps. They feel more professional. More intentional.
If you already use Apple Frames and build multi-step shortcuts, update to 3.1.1 today. The change takes thirty seconds. You will notice the difference.
If you are a casual user framing occasional screenshots manually, skip passthrough. Stick with &photos. Passthrough adds nothing for your workflow.
Where to Learn More?
The official Apple Frames page lives on the MacStories Shortcuts Archive. That is the only official download source.
Federico Viticci, the creator, wrote a detailed column about passthrough mode in MacStories Weekly, issue 358 . Club MacStories members can read the full breakdown.
For everyone else, the free version works perfectly. No subscription needed. No paywall. Just a well-built shortcut from someone who clearly uses it every day.
The Final Thoughts
Apple Frames 3.1.1 Adds Passthrough Mode for one simple reason. Power users needed a way to pass framed images directly to other shortcuts without saving temporary files.
The &passthrough command solves that. It turns Apple Frames from a standalone tool into a true function you can call from anywhere in the Shortcuts ecosystem.
Download the update. Rebuild your automations. Stop cleaning up temporary files.
Your shortcut library will thank you.